今回は前回お話した Kantan Mapper 以外のプロジェクションマッピングに使えるツールをご紹介して、その後通り自分の好きな映像などをプロジェクションマッピングする時間にします!
Other examples 10-Others.toe
プロジェクションマッピングに使えるツールのサンプルです。 すみませんテキストが間に合ってなくて後でアップデートします…。
- Stoner
- CamSchnappr
Stoner
まずは keystoning 用の Stoner
というツールがあります。Palette の Derivative > Mapping からネットワークにドラッグ&ドロップします。TOP を stoner のインプットにつなぎます。どんな TOP でもいいのですが、コーナーピンをするのでエッジと角がはっきりとわかるものにしてください。
Firstly, there is a basic keystoning tool called Stoner
. To get you started, go to the Palette under the folder Derivative > Mapping. Drag and drop the component into your network. Then connect your TOP to the input of the Stoner component. You can use any image, but make sure that you can see the four edges and corners very clearly because we use those corners for corner pinning.
There are two outputs from the component. Top one is for an image after being keystoned. The bottom one is for a displacement map which we can use as a look-up texture. We will take a look at the second output later.
Let’s connect a Null TOP with the first output and add an Out TOP after that. We will use this for the final output for the projection. At this moment, you don’t see any difference from the original input because we haven’t done anything with Stoner yet.
Select the Stoner component, go to a custom parameter page called Stoner and open the Stoner interface by clicking the the Pulse button for Open Stoner Window.
In the viewer inside the blue rectangle on the windows, you can move around with the middle Mouse button and zoom in/out with the mouse scrolling.
For keystoning, select points to move by clicking on them in the viewer. You can also use the arrow keys to move selected points and hold the Ctrl key to increase step size.
For grid warping, select points to move by clicking on them in the viewer. The grid can be warped using Bezier or Linear mode.
There are reset buttons as well at the bottom on the window.
The secondary output from the component is a displacement map. When you finish your keystoning, you can just save this image for the future because the stoner component is big and it would balloon up your file size.
You can get a keystoned image using Remap TOP
. Add a Remap TOP, connect the TOP before the Stoner to the first input of the Ramp TOP, and connect the displacement map to the second input.
If you lock this Null displacement map being outputted from the Stoner, you can save this image in your toe file and you can remove your stoner component.
Alternatively, we can save this Null operator as an image file. To do that just right click on the operator and select Save Image. from the menu. In this particular case, we would like to have a 32 bit image and exr works fine for us here. If you do this, you can externalize your displacement map because you can load this image from a Movie File In TOP, which enables you to keep the toe file smaller.
Camshnapper
The last one is a component called camSchnappr
This is the tool we can use for 3D projection mapping. If you have a 3D architectural object and want to put your image onto it, you can use this OpenCV’s cameraCalibrate based calibration tool with your 3D model of your geometry in TouchDesigner.
Today we’re going to try projecting on a cube as an easy example. Use an example file for this tool.
I just created this cube object and uv map in Blender.
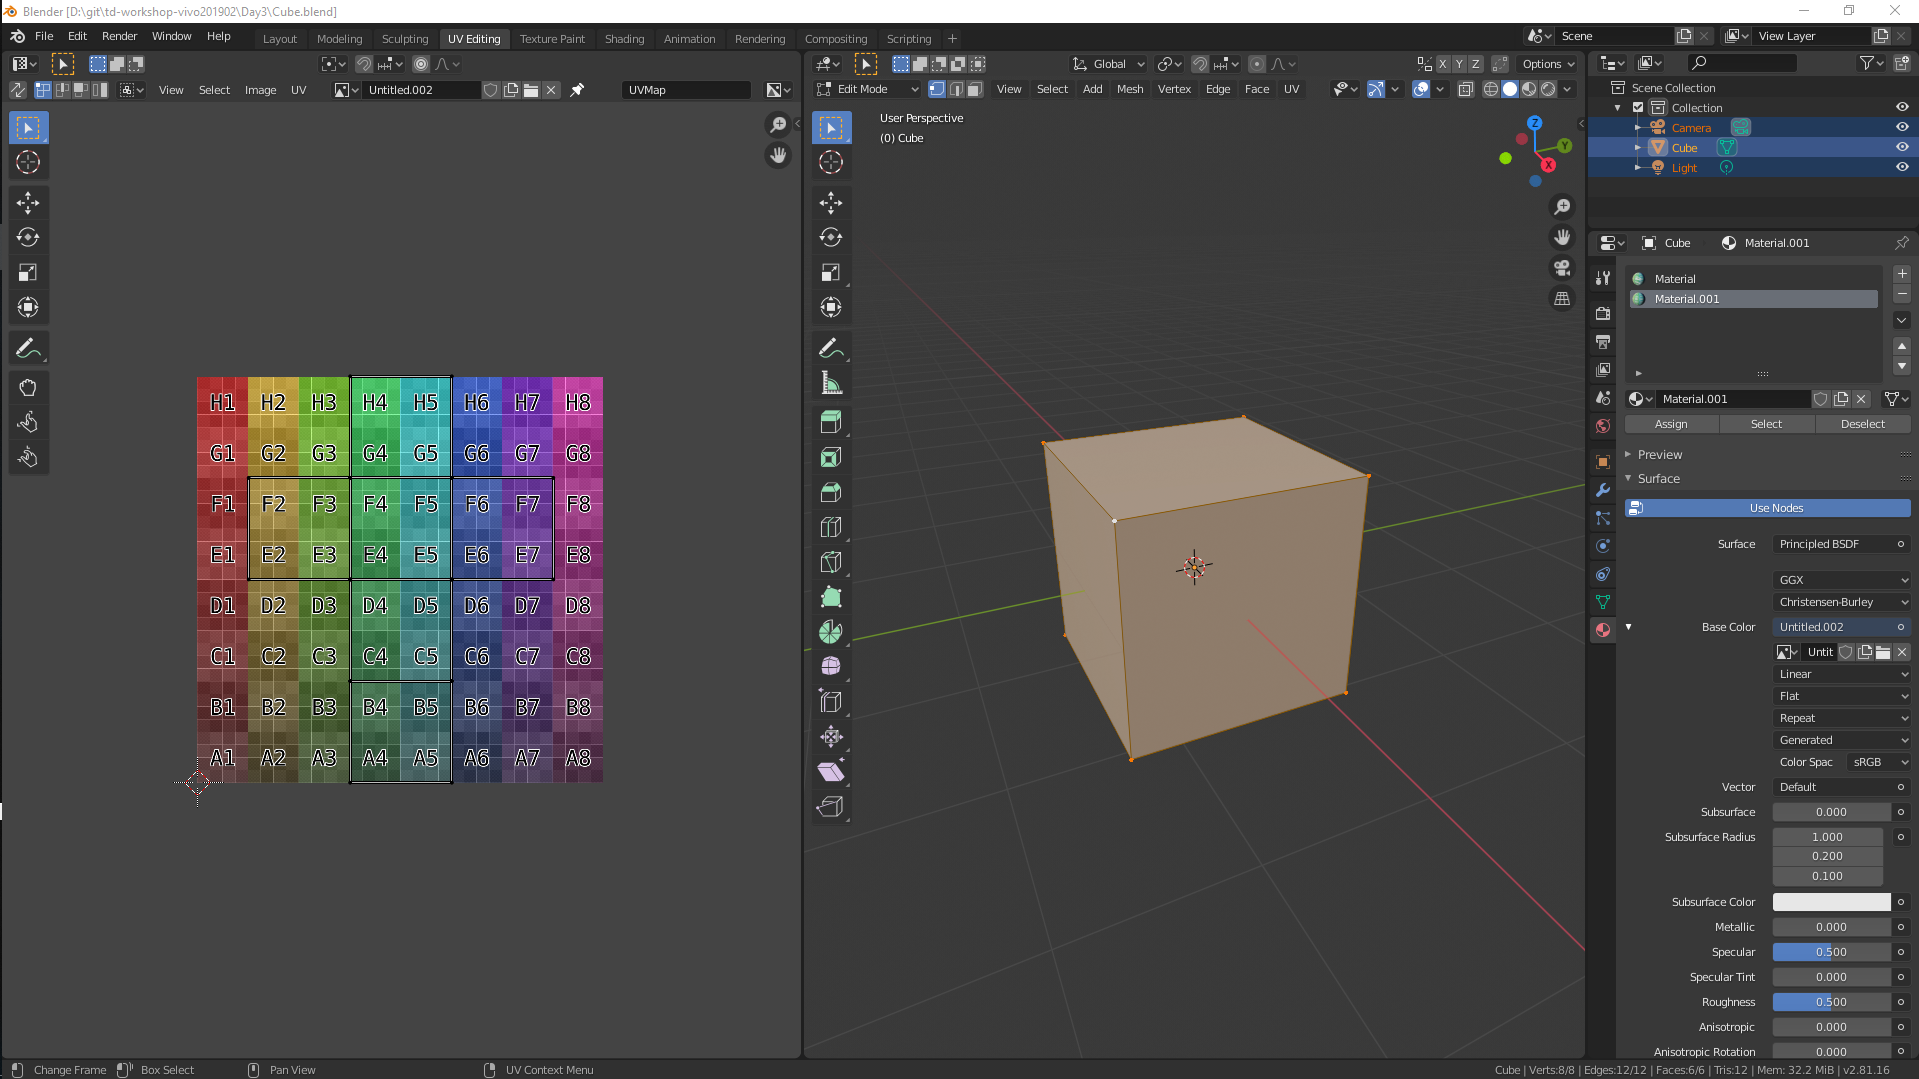
Cube.blendfor my Blender projectcube.fbxfor the cube 3D objectcube-uv.pngfor the UV map
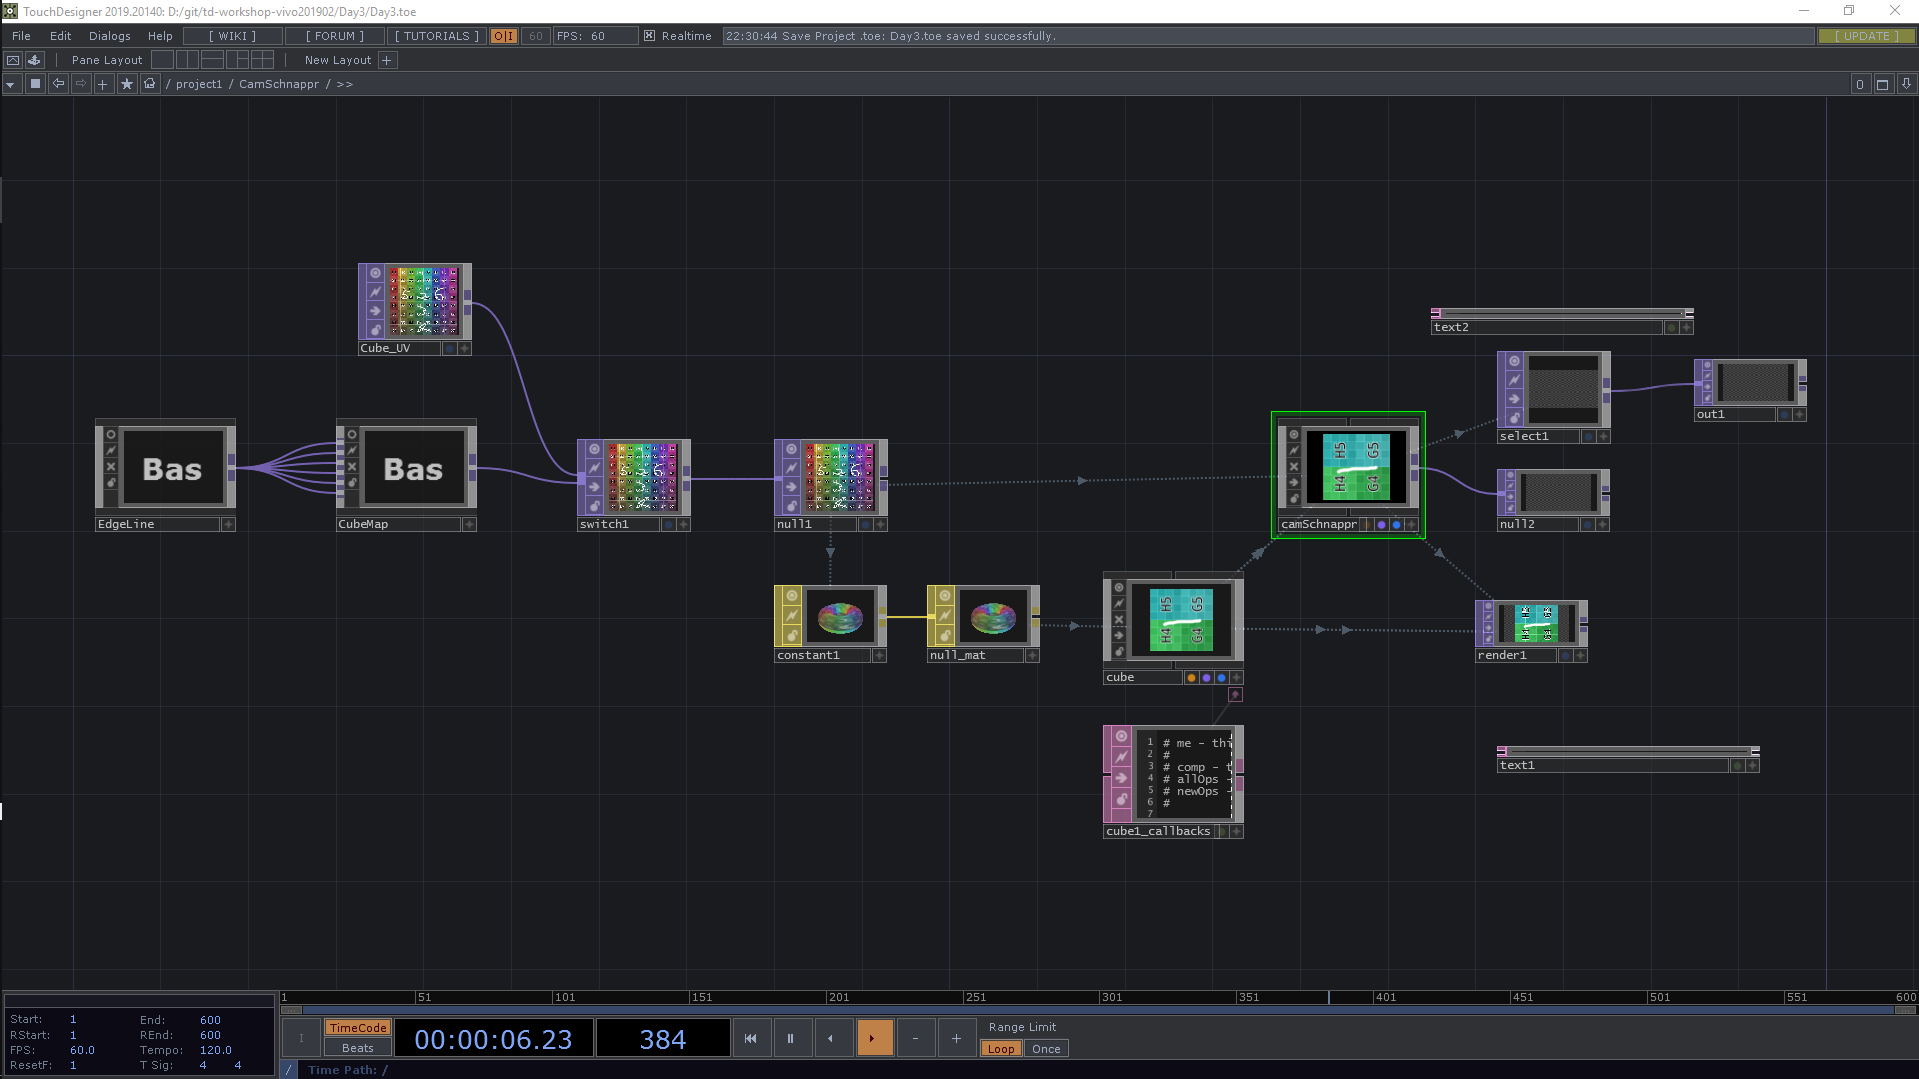
Like we learned in Day2, I just loaded the UV map in a Movie File In TOP called Cube_UV and specified the TOP for Color Map in a Constant MAT. And then added a Null MAt called null_mat. The 3D cube object is inside a FBX component called cube. I specified null_mat for Material in the component.
I added a CamSchnappr component from the Palette under the folder Derivative > Tools. Select the camSchnappr component, set Projector Resolution to 1920 and 1080 and set 1 for Output Monitor for today. You need to specify a SOP which you will use (here we use a cube shape box) and also the UV map for Color Map in the component.
Now we’re ready for mapping. Open up the final output by clicking Open Output. You shouldn’t see anything just yet.
You can open up the camSchnappr tool window by clicking Open Main Window. You have a box in the view. We should have the same view here to match our actual architectural object. To do that, you have some control here. Ctrl + left click to rotate, Ctrl + right click to translate and Ctrl + middle click to scale.
And usually we need to select about six points on our object. In our case today, we can put our points on the corners of the box. Go to the corners and you can create a point by left clicking. You can use your right-clicking on a point if you want to remove it.
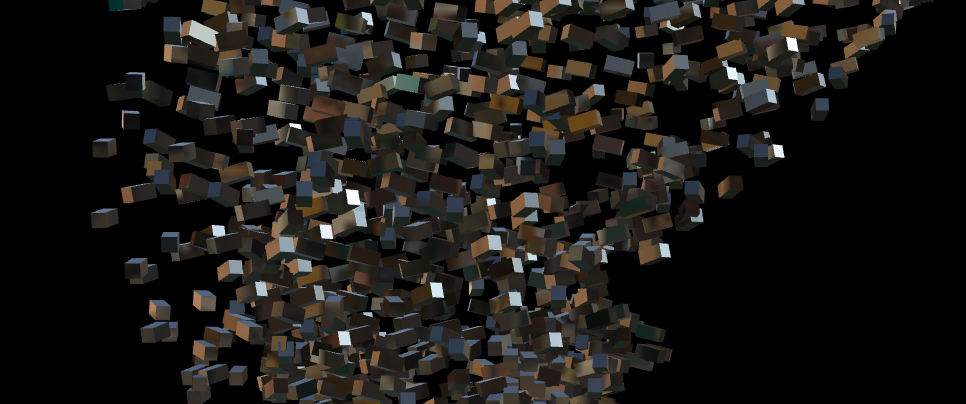
Go back to your Output on a projector and you see some points with numbers. You can move those corners, so try lining up those points on this thing in real life and once you’ve set five or six points it does the math to figure out exactly where your projector is and automatically maps nicely onto that surface.
本日の課題: 自分の好きなものをプロジェクションマッピングをやってみて、動画に撮影して Teams にアップしてください
プロジェクターの台数が限られているのでグループで協力して対応してください。